Fukuoka With Kids:which stop is for which child.

- Best for Ages
- Toddler to teen, age floors noted per stop
- Climb and Explore
- teamLab Forest, the zoo hillside, castle ruins
- Outside the Center
- An island, an aquarium and a shrine
- Quieter Stops
- Nokonoshima, Ohori Park, Marine World
- Spare the Legs
- Momochi Beach and Canal City Hakata
The activities and things to do across the city and its bay, and which ones pair well when a family has only one day.
Some links on this page are affiliate links. LuNi may earn a commission at no extra cost to you.
Fukuoka with kids covers toddlers to teens, with honest age floors noted for each of its twelve stops. An active child does best at teamLab Forest, the Fukuoka Zoo hillside and the Castle Ruins climb. Nokonoshima, Ohori Park and Marine World’s touch tank are the calmer half of the city. KidZania, Dazaifu Tenmangu, the Kyushu National Museum and the Nakasu yatai give a clear shape to a child who wants the plan early, and Momochi Beach and Canal City Hakata ask little of tired legs. Three day trips, to an island, an aquarium and a shrine, sit outside the center.
Which stop is for which child.
These stops are not ordered best to worst. They are grouped by which child each one is for. The reason is simple: Fukuoka packs island ferries, a teamLab forest, shrine rituals, and yatai counters into one compact city, and the stop that frees one of your children is the stop that drains another. So instead of a single list, you get four short ones, organized by how each child runs out of steam. The Dynamo runs short when they cannot move. The Sensor runs short on noise and crowds. The Anchor runs short when nothing is predictable. The Sprinter runs short on walking and standing. Find your child below, and start there.
For the Dynamo
Stops that relieve restricted-movement depletion.
For a child who depletes through restricted movement, the strongest stops are teamLab Forest, the Fukuoka Zoo hillside, and the Castle Ruins climb.
Climbing, hunting, and physically chasing reactive digital creatures across uneven, elevated terrain meets the Dynamo’s restricted-movement depletion head-on, so energy discharges through the visit rather than building against a queue. The engagement loop is child-initiated throughout, which is what sustains a Dynamo across the full session without a parent engineering the next move. A younger Dynamo scrambles the lower platforms; an older one chases the reactive zones at full pace. It is the cleanest single Dynamo match in the city.
Who it costs.The Sensor, at high risk. The dark zones with reactive floors and ceilings draw hard on the sensory-load threshold, the one profile the venue pushes past its ceiling fastest.
How to make it work.Book a morning slot and walk an explicit exit route for the dark zones before you enter, not after a younger child has already crossed threshold.
If this isn’t your child: still a striking 90 minutes, though a Sensor-led family should weigh the dark-zone load before booking.The hillside circuit gives the Dynamo a continuous physical task, a climbing and descending loop that absorbs restricted-movement depletion far better than any flat enclosure, with a botanical garden at the summit that rewards the ascent rather than stalling it. A school-age Dynamo paces the gradient without prompting; a younger one treats the animal stations as natural rest points between climbs.
Who it costs.The Sprinter. The same gradient that frees the Dynamo draws on a low-stamina child’s sustained-walking reserve by the back half of the loop.
How to make it work.Climb first while legs are fresh, then let the descent and the garden carry the tired end of the visit.
If this isn’t your child: a pleasant outing for any family, though a Sprinter should plan a shorter loop and skip the summit garden.The ruins carry almost no interpretive infrastructure, which makes them exactly as engaging as the climb the family makes of them. For the Dynamo, the uphill path to the tower foundations is a natural physical target pursued without prompting, and the elevated platform pays the effort back with a view that holds attention long enough to justify the ascent. They sit beside Ohori Park and chain into one green-space circuit. A younger Dynamo runs the lawns below; an older one takes the climb to the top.
Who it costs.The Anchor. The absence of structured routing or exhibits leaves no environmental cues to follow, so the visit reads as ambiguous rather than legible for that child.
How to make it work.Use the ruins as a discharge stop between Ohori Park and the city center, not a destination in their own right.
If this isn’t your child: a free, open green space, but an Anchor is better served by the shrine ritual at Dazaifu instead.For the Sensor
Stops that let a sensory-loaded child recover.
For a child who depletes through sensory input, the strongest stops are Nokonoshima, Ohori Park, and Marine World’s touch tank.
A ten-minute ferry from Meinohama Port sets a hard boundary between city stimulus and island calm, and the open flower-field paths let the Sensor set pace with no crowd pressure or unpredictable noise. The crossing itself is a transition buffer that resets sensory load before the visit begins. A younger Sensor wanders the fields slowly; an older one takes the longer coast paths. It is the cleanest single Sensor match in Fukuoka.
Who it costs.The Sprinter. The dispersed terrain and distributed picnic grounds are real walking distance across a full-day visit.
How to make it work.Treat the ferry as the day’s reset and base near one flower field rather than circling the whole island.
If this isn’t your child: an unhurried half-day for any family, though the ferry logistics only repay you if you stay for the calm.The two-kilometer flat lake loop carries the lowest noise floor of any major Fukuoka family stop, which makes it a reliable mid-day decompression for the Sensor rather than a destination. The Japanese Garden, a short bridge away, is a second contained sensory layer for a child who needs a bounded environment after the open park. A younger Sensor settles by the water; an older one uses the garden as a deliberate reset.
Who it costs.The Sprinter, mildly. The full loop is a flat walk, the only profile the park genuinely taxes.
How to make it work.Enter near the playground and paddle-boat dock so the visit length stays family-controlled, with the garden held as the closing calm.
If this isn’t your child: a free, flexible green hour for nearly any family, which is why it is the most profile-versatile free stop in the city.The aquarium’s dedicated low-stimulus touch zone, with starfish, horseshoe crabs, and small rays, gives the Sensor a tactile option away from the crowd pressure of the main tank circulation. That zone is the strongest single feature here for a sensory-led child and should anchor the visit. The dolphin arena fills from the back, so mid-level rows on the left put a younger child at eye level with the pool and clear of the rear crush; an older child takes in the full counter-clockwise circuit.
Who it costs.The Sprinter. The aquarium plus the adjacent seaside park is a two-venue site, and the distance between them is real walking if both are committed to at the gate.
How to make it work.Complete the aquarium first, assess energy before buying Seaside Park admission, and treat the park as an extension rather than a commitment.
If this isn’t your child: a full aquarium day for any family, but plan across both venues or it underuses the 30-to-40-minute trip out.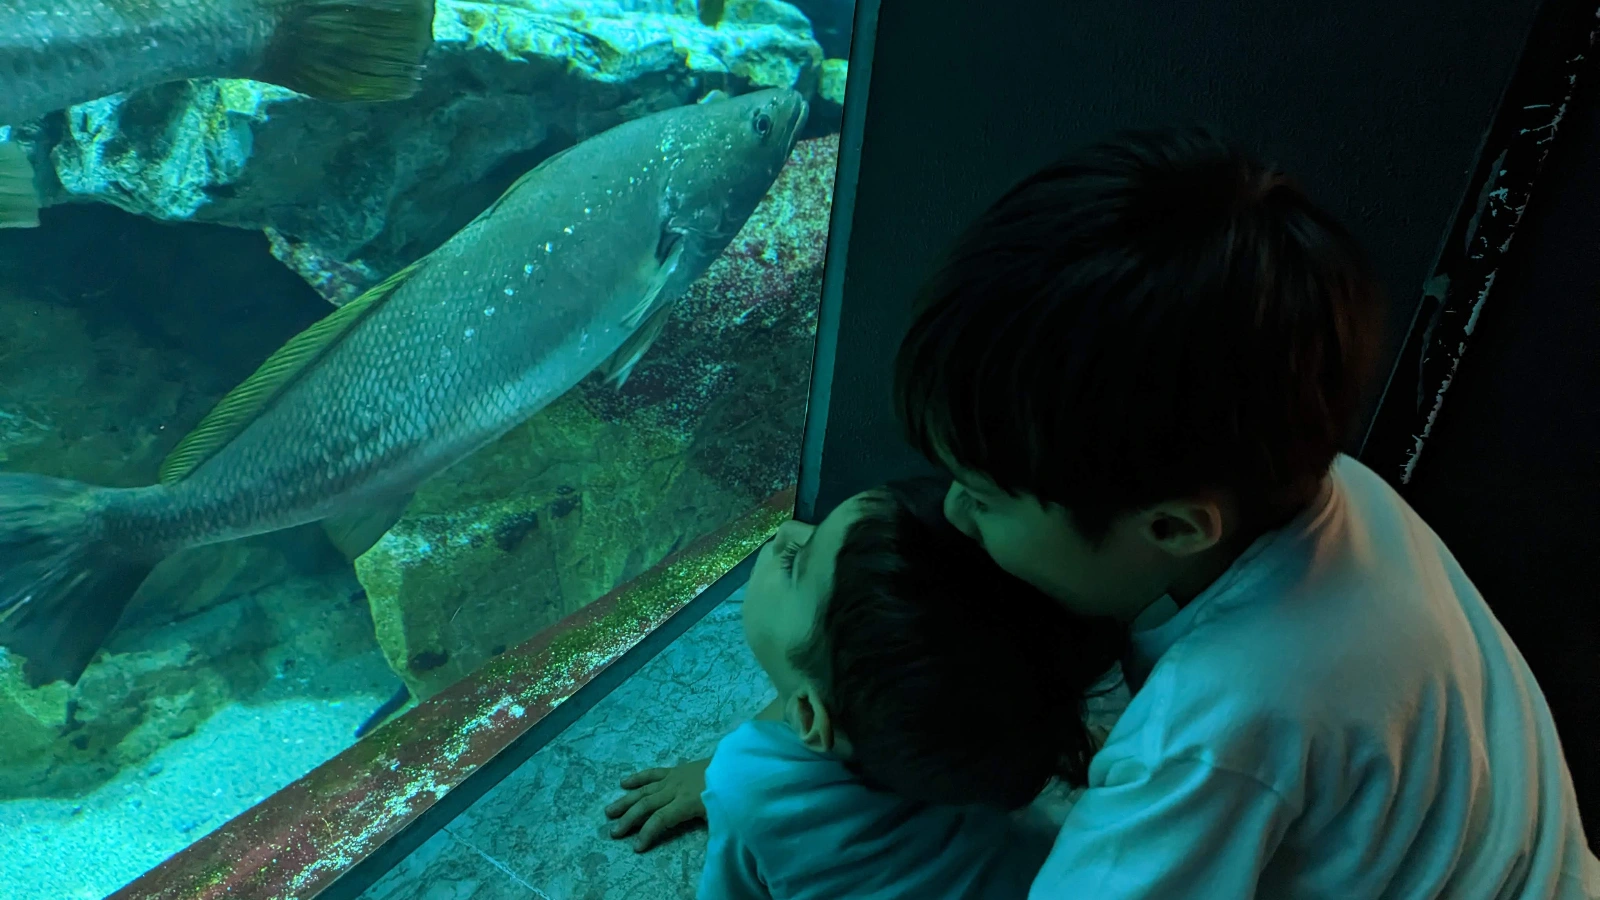
For the Anchor
Stops with confirmed, predictable structure.
For a child who depletes through unfamiliarity and unconfirmed structure, the strongest stops are KidZania, Dazaifu Tenmangu, the Kyushu National Museum, and the Nakasu yatai.
The fifty-plus profession pavilions run on fixed cycles of 20 to 45 minutes, each with a clear entry instruction, a defined duration, and an unmistakable completion signal. That predictability is exactly what an Anchor converts into confidence, and the child adapts to the cycle format faster than most parents expect. A younger Anchor leans on each pavilion’s staff-led structure; an older one reads the KidZo earning-and-spending economy as a stable set of rules to operate inside. It is the broadest stop on this map, with strong secondary value for the Dynamo through constant role rotation.
Who it costs.The Sensor. The central atrium runs loud, which can push the sensory-load threshold before the child has settled into a role.
How to make it work.Reserve the morning session in advance and start with jobs in the outer corridors until a Sensor child has acclimated to the noise floor.
If this isn’t your child: a full self-directed day for nearly any family, the single strongest pick for a mixed-profile group from roughly age 4 to 12.The five-minute approach from the station, lined with umegae mochi vendors and a fixed sequence of torii gates, arched bridges, and ponds, reads to the Anchor as a predictable ritual rather than an open market. A fresh grilled rice cake stamped with a plum blossom gives a younger Anchor a repeatable reward to return to, while an older one follows the legible gate-and-bridge progression without parental direction. The structure is the draw.
Who it costs.The Dynamo. Once the grounds are walked, the compound is thin on physical engagement, leaving restricted-movement reserve still to discharge.
How to make it work.Pair the shrine with the adjacent Kyushu National Museum so a mixed group has a second venue to absorb unspent energy.
If this isn’t your child: a pleasant approach for any family, though a Dynamo will want a discharge stop chained to it.The long escalator approach creates a defined arrival sequence that can be described to a routine-reliant child in advance, and the floor-by-floor thematic organization gives the visit a legible structure the Anchor orients against rather than experiencing as undifferentiated space. The ground-floor Ajippa zone, with costumes, instruments, and touchable replicas from across Asia, is the child-accessible entry point for a younger Anchor; an older one engages the permanent collection’s clear chronology.
Who it costs.The Dynamo. The collection rewards stillness over movement, and the building actively discourages the large-motor engagement a restricted-movement child needs.
How to make it work.Follow the museum immediately with Dazaifu Tenmangu next door rather than attempting a second indoor stop on the same day.
If this isn’t your child: a serious, calm cultural hour, but a restless Dynamo should keep it short or pair it deliberately with the shrine.The riverside row of counter stalls runs on a fixed menu and a predictable service sequence, with none of the open-ended decision-making that buffets and food halls demand. For an Anchor aged six and above who has been prepared for the format, that structure means the child typically settles faster here than at a conventional restaurant. It is the most conditional Anchor stop on the map, valuable specifically to the family whose child reads a defined counter routine as calming.
Who it costs.The Dynamo. Counter seating asks for 45 to 60 minutes of sustained stillness, the single environment most likely to produce friction for a movement-led child under seven.
How to make it work.Arrive between 6:00 and 6:30pm to cut the wait and shorten the restless pre-meal window before the food lands.
If this isn’t your child: take in the lit river setting from street level without committing to a counter, the right call when the noise and proximity exceed a child’s threshold.For the Sprinter
Stops that keep walking and standing in check.
For a child who depletes through sustained walking and standing, the strongest stops are Momochi Beach and Canal City Hakata.
Eight hundred meters of flat, clean, stroller-complete urban beach with no fixed route and no minimum distance gives the Sprinter family genuine control over the physical load. The beach does not demand a circuit to feel complete, and the option to move from sand to the promenade without retracing steps lets a family taper the day on its own terms. A younger Sprinter rests on the sand between short bursts; an older one uses Fukuoka Tower to the north as an optional extension when energy allows.
Who it costs.The Sensor. The promenade concentrates crowd and vendor noise on weekend afternoons, which can edge a sensory-sensitive child toward threshold.
How to make it work.Arrive before 10:00am for the calmest sand, and treat the tower as a discretionary add-on rather than a planned second stop.
If this isn’t your child: a free, flexible afternoon for any family, with a predictable seafloor gradient that removes the sudden depth changes that unsettle younger children.The covered, climate-controlled complex gives the Sprinter abundant seated rest and short, self-determined distances between draws, which keeps sustained-standing depletion in check on a day that would otherwise tax it. The canal-side fountain show runs on a posted schedule, a fixed, repeatable event a child can anticipate, and the central location slots it into a city day without a long transit leg. A younger Sprinter recharges at the fountain between stretches; an older one paces the shops and food floors at will.
Who it costs.The Sensor. The open atrium concentrates echo and crowd noise, particularly at show times.
How to make it work.Time a visit around a fountain show for the payoff, but seat a Sensor child on the quieter upper levels rather than the atrium floor.
If this isn’t your child: a reliable wet-weather or midday option for any family, which is where it earns its place on a Fukuoka itinerary.Open with the child who runs short first.
The order of a Fukuoka day is set by Reserve, not by the map. Each route opens with the stop that protects the named child, then chains to the nearest compatible one.
Settle these first. KidZania and teamLab Forest are booking-gated: reserve the morning session and a timed slot in advance, because a gated stop controls the day’s shape more than the route does. Marine World is worth booking ahead on weekends. Everything else (Ohori Park, Momochi Beach, the Castle Ruins, Dazaifu, Canal City) is walk-up fill-in arranged around those bookings.
When to go, and what costs nothing.
Late morning on a weekday is the widest window across the central stops: lively enough to feel like the city, calm enough to protect a sensory-sensitive child before the afternoon density builds. The three day trips set their own clock: Nokonoshima, Marine World, and Dazaifu each sit outside the center and anchor a day rather than slotting into one. The free stops carry real weight here. Ohori Park, Momochi Beach, the Fukuoka Castle Ruins, and the Dazaifu shrine grounds all cost nothing, and they are also among the stops that protect a child’s Reserve best, so the free route and the calm route are largely the same route.
Three bases that fit a family’s Reserve.
A shortlist chosen for location logic, not price tier. The full set is in the complete Fukuoka hotel guide.
| Property | The LuNi Reason | Budget |
|---|---|---|
| LUNI Pick Grand Hyatt Fukuoka Inside Canal City Hakata | Set directly above Canal City Hakata and a flat walk from Hakata Station, the location collapses transit for a Sprinter and keeps the Anchor’s routine intact with predictable, repeatable surroundings across a multi-night stay. | ¥¥¥ |
| Hilton Fukuoka Sea Hawk On the Momochi bay front | A resort-scale tower on the bay beside Momochi Beach, with pools and open space that give a Dynamo room to discharge at the end of the day and put the calmest sand within a short flat walk for a Sensor. | ¥¥¥ |
| JR Kyushu Hotel Blossom Hakata Central Steps from Hakata Station | A walk-to-the-platform base beside Hakata Station, the lowest-friction choice for a family running the three day trips, with the shortest morning sequence to the island ferry, the aquarium line, and the Dazaifu train. | ¥¥ |
Budget: ¥¥¥
Budget: ¥¥¥
JR Kyushu Hotel Blossom Hakata Central
Budget: ¥¥
For every family-friendly option in the city, see the full Fukuoka family hotel guide.